
Introduction – DIY Golf Shaft Pulling Tricks
We previously wrote about “How to Pull a Golf Shaft” where we cover the basic technique for properly and safely pulling both steel and graphite golf shafts. While that technique is a great best practice, and the only foolproof(-ish) safe way to pull graphite shafts, there are a few hacks you can use for pulling steel shafts at your home. This post will walk you through some DIY golf shaft pulling tricks that we’ve used at our homes successfully.
Note: there are exceptions to all of these; they aren’t a perfect science. The best and most successful way is via the linked post at the beginning of this paragraph.
“By Hand”
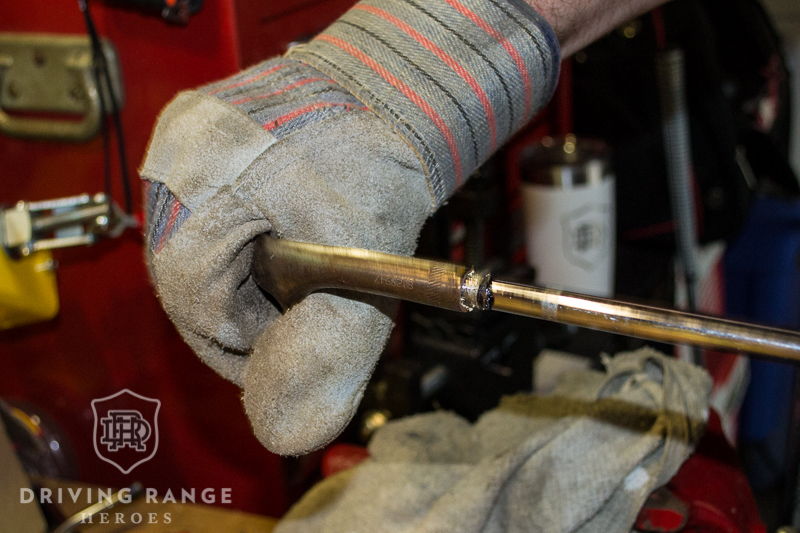
The good news is that steel shafts are pretty tough and resilient. A simple way to pull a steel shaft out of your clubs is with just your hands and a torch. It’s important to remember that the club head and the shaft are going to get pretty hot so you need the proper materials to handle the heated metal. I’ve done this with welder’s gloves and thick towels wrapped multiple times. Don’t burn yourself. As you apply heat to the hosel (by keeping the heat moving around the whole area), you should periodically try and twist the head and shaft. If they don’t budge, keep applying heat. Eventually you will feel the epoxy break and will be able to twist the head off. Having a rubber grip on the shaft is nice for a better grip and leverage.
Another alternative heat source I’ve had success with (literally twice) was a hair dryer. I read about golfers packing prized putters in their carry-on luggage, re-shafting at their hotel, and then removing the head with the hotel hair dryer prior to traveling home. Following that, I tried it and it worked. I see this as a real “in a pinch” option, but to each their own.
There are a few important things to keep in mind. First, due to the twisting nature of this technique, absolutely no graphite shafts. You’ll trash the shaft. Second, sometimes you will run into some really stubborn epoxy and this technique will either not work or will just be too difficult. It’s a simple minimalist hack, so these types of difficulties come with the territory.
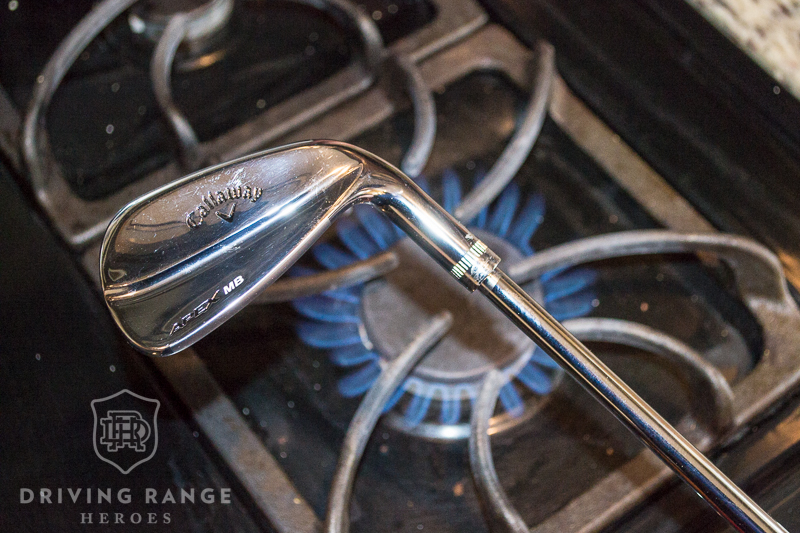
The Stove
This is the same technique as “by hand” but you use the stove for your heat source. I’ve been in a couple of random situations where I didn’t have a propane torch or heat gun at my disposal and had to pull a steel shaft from a head. All I did was fire up a burner on the stove and use it to heat the epoxy. Like the “by hand” technique, this may have difficulties with stubborn epoxies or binds.
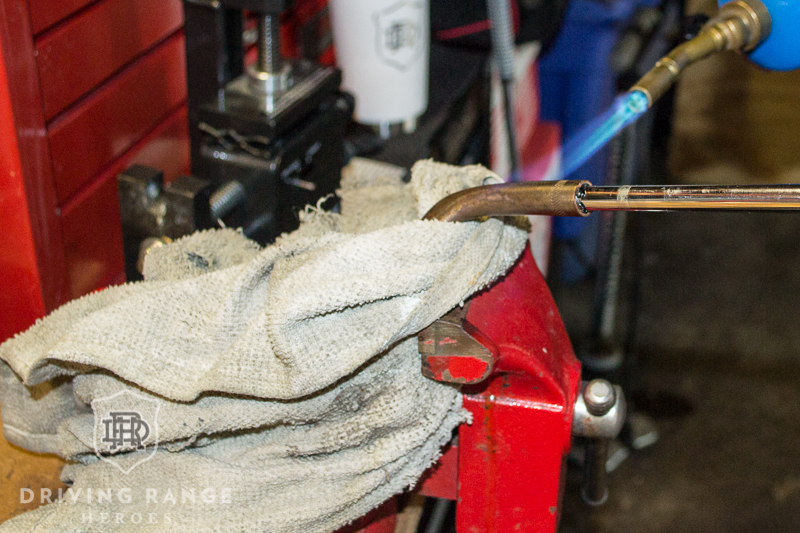
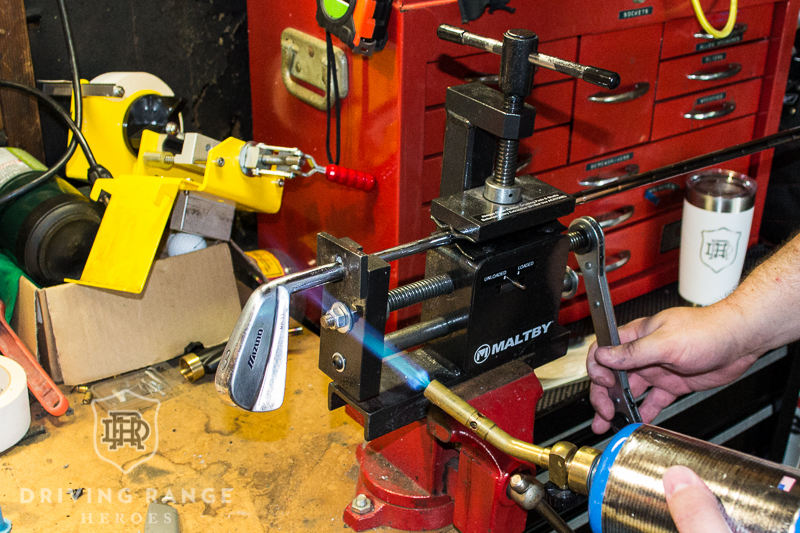
In a Vise
The vise technique is one of the great at-home DIY golf shaft pulling tricks. It’s not dissimilar to the “by hand” technique, but gives you a little more leverage and keeps your hands away from the heat. For this technique, you can approach in two different ways. You can heat the hosel and then put the club in the vise, or you can keep the club head in the vice and heat continuously.
What I used to do was wrap the head in a towel so it is well protected from the squeeze of the vise. Make sure to leave the hosel exposed enough so you can heat it without starting the towel on fire. As you heat the hosel, the epoxy will start to break down and you will be able to twist the shaft out of the head. This works better on more stubborn epoxy than the “by hand” technique. Be careful removing the head from the vise, it’s going to be hot.
A risk to be careful of here is that your soft forged irons are strong enough to hit a golf ball and bang into the ground, but they aren’t dying to get torqued in a vise. If you aren’t careful, you could find some notable loft/lie issues. Again, if you are looking for “at-home hacks” and want to shortcut using the right equipment, these are the risks you live with.
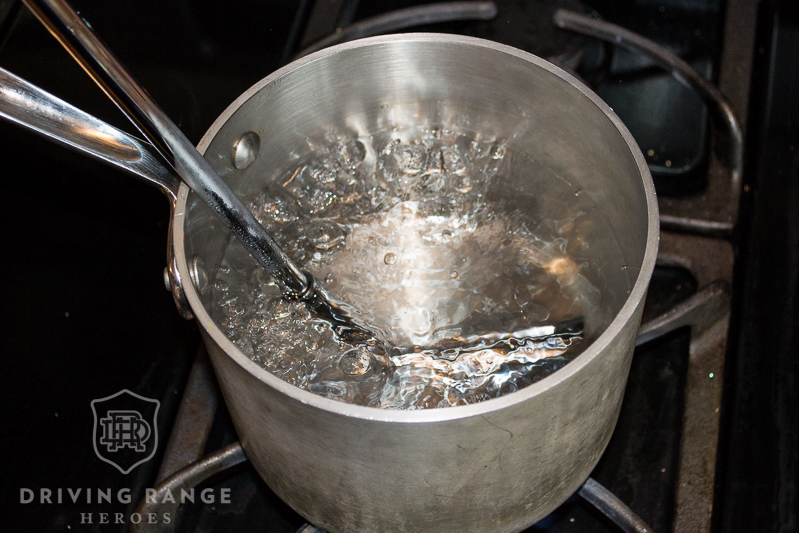
Boiling Water
This is my absolute favorite DIY golf shaft pulling trick based on ingenuity alone. What’s nice about this technique is that it works well and makes saving your sweet custom ferrules feasible as long as they weren’t super epoxied on. In order to do this, fill a pot with enough water to submerge your club head in. Get the water up to a nice boil then submerge the club head. I like to submerge just up to the ferrule. Be advised, this technique takes a little longer to heat the head enough to break the epoxy. Periodically check if you can twist the head. I use an oven mitt to hold the head, but it can still be a little hot to the touch.
Once the bond breaks enough, you’ll be able to twist the head off fairly easily. Assuming your ferrule is still in tact, you can dip it back in for a bit, take your oven mitt and push the ferrule off the end by pushing evenly on the top of the ferrule. Don’t grab the ferrule itself because the plastic will be soft and you may malform it.
Another safety note: the club head will be hot and take awhile to cool. When I’m done, I just let it sit on a towel on the counter and come back to room temperature at its own pace. Don’t run it under water to cool it down, because I learned on Forged and Fire that’s a bad idea.
Conclusion
Like I said in the intro, I’m going to recommend using traditional shaft removal techniques 100% of the time. You can find that approach here. That said, there are situations that may require an alternative approach and hopefully these DIY golf shaft pulling tricks will help you out there.
If you have any of your own clever tricks that people may find useful, leave a comment and we may even add it to the post!


Thanks for sharing these tricks. I am in a learning position. This article will help me a lot.
I totally agree with the boiling water method. I use an old rice cooker that I’ve devoted to the purpose. Mrs was mad that I used nice pots and better not to use same pot for food and golf epoxy.