How to Regrip a Putter
Maybe surprisingly, maybe unsurprisingly, regripping your putter isn’t much different that regripping a regular golf club which we walked you through here. There are a few different things to take into consideration along the way. I’ll make sure to point those out. Otherwise, let’s tell you how to regrip a putter in your own garage.
*I’m reusing pictures from the club regripping post where the concepts are exactly the same.
Supplies
You can refer to my “Tools For an At Home Golf Workshop” post to see a detailed list of tools I recommend for regripping golf clubs and prices. The quickest and easiest way to get up and running is with the supplies listed below.
- Vise
- Vise Clamp
- Workbench
- Heat Gun or Propane Torch (not mandatory, but makes life way easier)
- Utility Knife with hook blades
- Grip Tape
- Grip Solvent
- Solvent Pan (or something else to capture spilling solvent)
- New Grips
Removing Old Grips
This process is fairly easy. Keep in mind some grips are easier than others and it may take a little more effort than you’d expect. Often times a grip with cord takes a little more fight. Some people may want to save the grips for whatever reason, but that’s another post for another day.
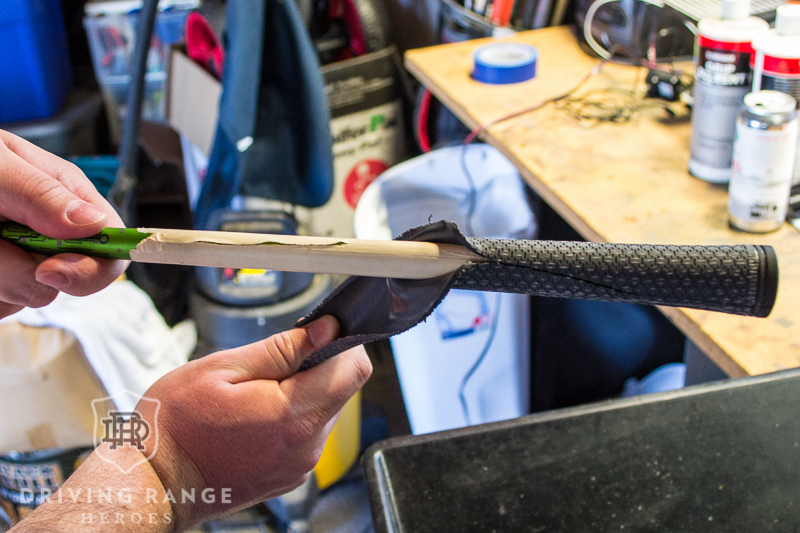
If you just want to remove your old, dry, crusty, disgusting, smelly grip all you need is your hooked blade utility knife. Start at the base of the grip and cut a straight line toward the butt end of the grip. SAFETY TIP: make sure you always cut away from you. That’s just good knife safety practices. Once you make that cut, you will be able to peel the grip off. You can further cut and adjust as necessary.
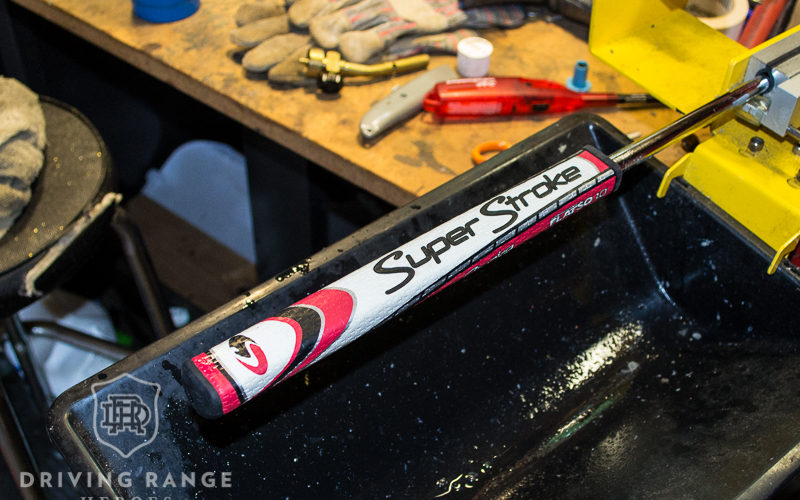
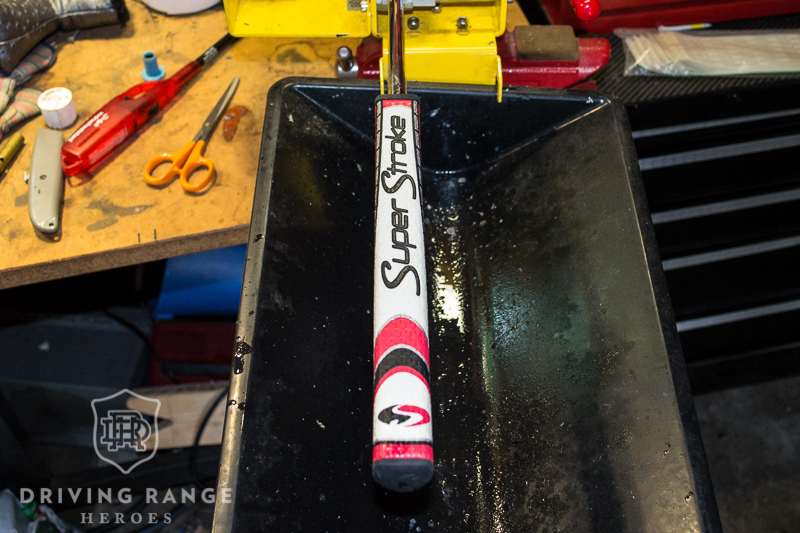
Let’s talk about SuperStroke grips and other oversized grips. I’m not going to lie to you, these can be a pain to remove. I usually use an air compressor to remove these grips, but that can get difficult over multiple uses of a grip as air can escape. In the event you don’t care if you save the grip, your best bet is to still cut them off. It just may be difficult with a larger putter grip.
WARNING: There isn’t much risk with a steel shaft, but if you’re removing a grip from a graphite shaft BE CAREFUL to not scratch the graphite and damage the shaft. Yes, some people have graphite putter shafts.
Removing Old Tape
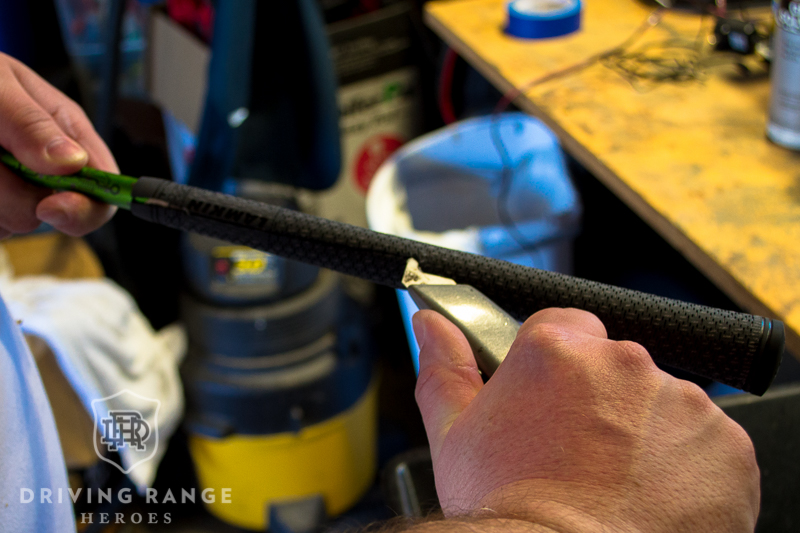
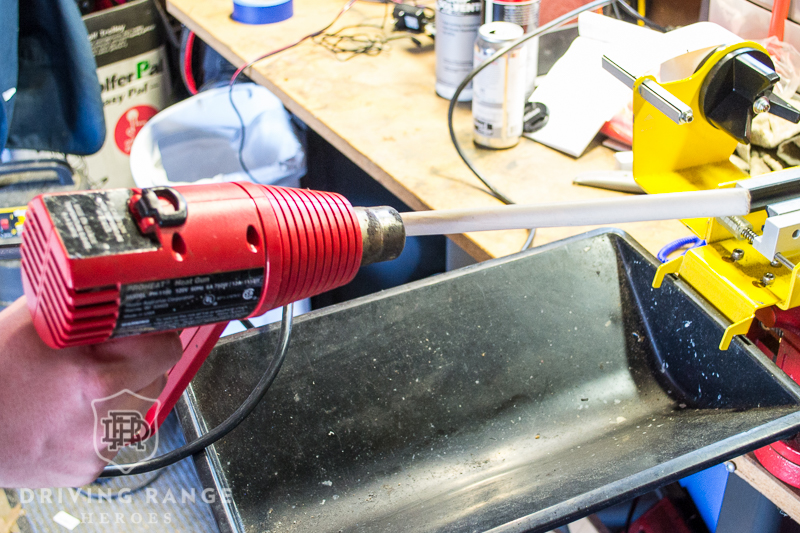
Old tape is generally the worst. Especially if it was cheap, crappy tape. It won’t come off easy no matter what you do. The best tip I can give here is to use a heat gun or Propane torch to heat the tape up and break down the adhesive. This will make peeling the tape much easier.
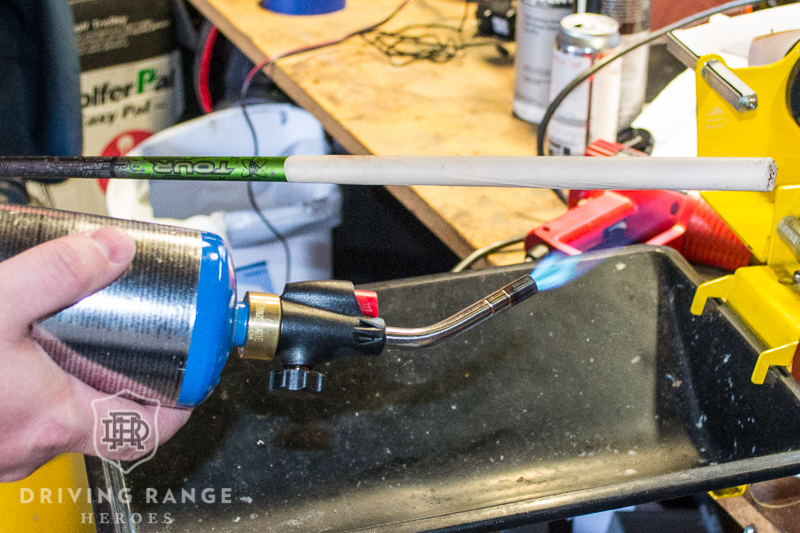
You can also use a straight utility blade to scrape it off in chunks, but if you do the heat method above well, it will be more trouble than it’s worth.
If you have residue and whatnot left, use a little mineral spirits or solvent on a rag, some elbow grease, and remove it so the shaft is clean.
ANOTHER WARNING: Again, steel shafts are pretty safe, but BE CAREFUL with graphite. Too much heat can cause bad structural problems to the graphite. Don’t heat it too much. Also, remember what I said about using a utility knife on a graphite shaft.
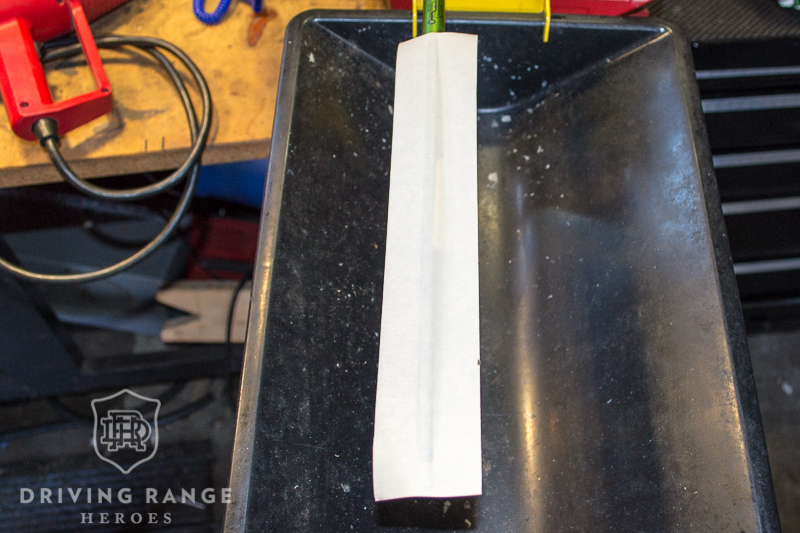
Tape It Up
Alright, got the old tape off so now we want something to create a little sticking friction for the grip and to take up any “space” between the grip and the shaft so it doesn’t move. Some people use masking tape others use two-sided grip tape. My preference is a good quality grip tape.
There’s more than one way to skin a cat. Just make sure your finished product doesn’t have tape hanging out the bottom. Some people will do that on purpose and then trim it off. I personally don’t love that approach and measure so the end of my tape is just short of the bottom of the grip.
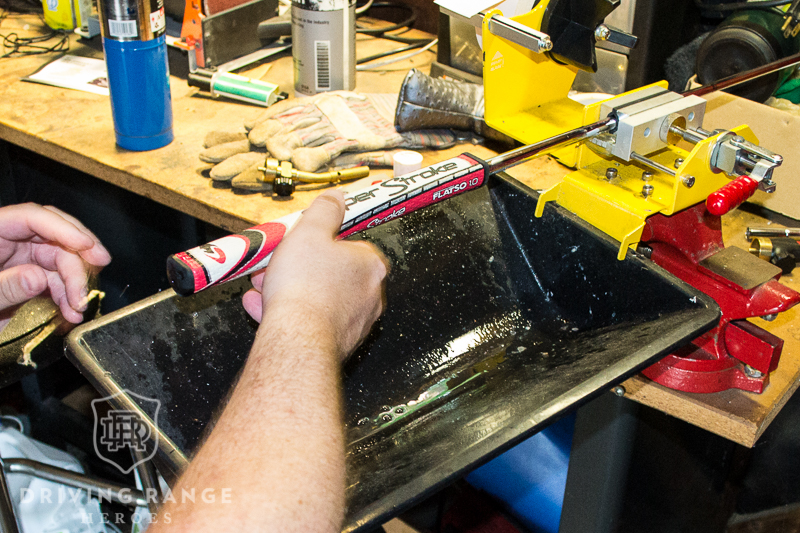
Let’s talk about SuperStroke grips again. Make sure you use more than one wrap of tape. I’ve more than once seen a dry SuperStroke pull or twist on a shaft because the person didn’t have enough layers of tape.
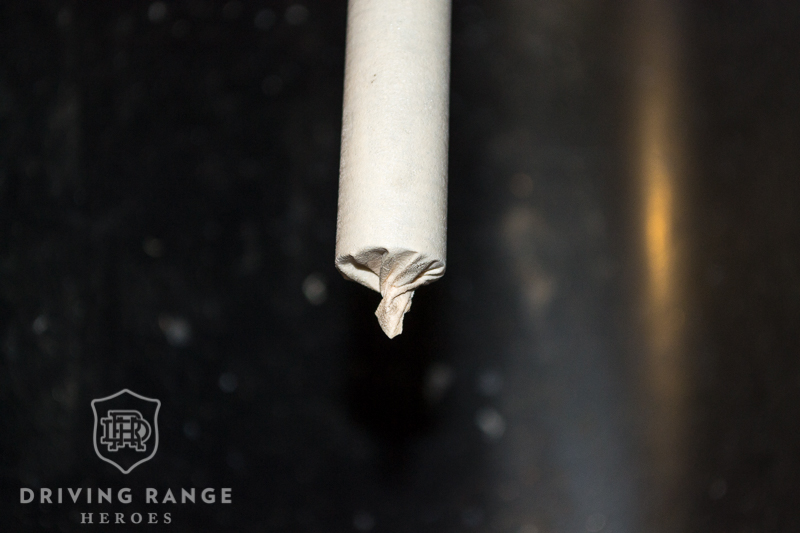
This is may be the most important part of the tape step. You need to make sure you leave a half inch or so of tape hanging off the butt of the club. Once you wrap the tape around the shaft, twist this excess hanging tape to a point and just poke it down into the shaft. This creates a “cover” to the shaft and prevents any grip solvent from getting in the shaft and breaking down the epoxy over time.

Apply New Grip
This is another area where there’s more than one way to skin a cat. Some people prefer to use air compressors and no solvent, some like to use water and dish soap, some like to use mineral spirits… Aside from air, the common practice is to fill the grip with your solvent (while covering the hole in the butt end), shake it to get the inside nice and coated (hold fingers over both ends so solvent doesn’t fly everywhere), and then pour it out over the grip tape (this is why you need something to catch the solvent in). At this point you can slide grip over the tape pretty effortlessly.
Check and make sure you have everything nice and straight, looks good to your eye, and feels good in your hands. You can twist and adjust easily while the tape is still wet.
NOTE: The more layers of tape you use, the more difficult sliding the grip on can be. Make sure you use plenty of solvent to create proper lubrication. If it’s sticking and won’t slide, you can often use an air compressor to help it the rest of the way. Again, the more solvent, the better.
Checking & Adjusting the Grip
With a regular club, making sure the grip is straight is more of a preference out of annoyance thing. Ultimately, the grip is still round (I know, reminder ribs, but you get it). With a putter, that rule is generally out the window. Most putter grips have a certain shape to them that is meant to be lined up a specific direction. Ideally when you buy a putter off the rack, the flat face of the grip is perfect perpendicular to the face of the putter. This is a good rule of thumb when installing your own putter grips.
Yes, there are exceptions. I’ve noticed that I tend to hold a perfectly square putter grip in such a way that opens the face up the putter face. So when I install a putter grip I make slight adjustments so it’s comfortable in my hands and the putter sets up square at address. That said, when in doubt, go with the perpendicular approach mentioned above.
Dry Time
Grip solvent and mineral spirits dry pretty quickly, but you want to allow your grip adequate time to dry so they don’t twist. I like to lean my newly gripped clubs straight up against a wall and give them at least six hours to dry. Most times I’m gripping my clubs at night after the kids go to sleep so they just dry overnight.
Conclusion
There you have it. The simple details of how to regrip a putter in your own house. There are more advanced tips, tricks, and efficiencies, but this is enough to get the job done and get you on your equipment-tinkering way.
If you have any questions or comments, make sure you leave them below!