Introduction
Listen, I can build a golf club just fine. I’m not claiming to be a master builder like the professionals, but I know I can build my clubs securely and they will work fine. That said, part of club building is “fit and finish.” This is an area I admittedly could be MUCH better at. My Achilles heel in finishing a club has typically been turning down ferrules. I have the belt sander, I have the different soft belts, I have the ferrule turning arm…but I’m just flat out terrible at it. Until now. I’ve recently adopted a hand-turning technique that I’ve found works best for me. Yes, there are many different ways to skin this cat, but I’m going to show you a nice and easy (albeit tedious) way to do it. This post will teach you how to turn a golf ferrule by hand.
Note: I still recommend following tried and true methods. Use my technique at your own risk.
Tools Required
If you’re signing up to turn a golf ferrule by hand, I suggest a small handful of tools. With some simple tools, the process will be much easier and turn out better. Many of these can be found in our “At Home Workshop” post here. Below is the list.
- Vise
- Shaft clamp or vise clamp
- 80-100 grit sandpaper
- Acetone
- Soft clean cloth (I use old t-shirt scraps)
- Optional: Latex or vinyl gloves
- Ferrules
How To Turn a Golf Ferrule by Hand
First, I want to make it clear: there are multiple ways to turn a golf ferrule by hand. Heck, feel free to share your different technique in the comments and I’ll throw together another post featuring it with a shout out to you. The point is, I have a process that works well for me and it’s simple.
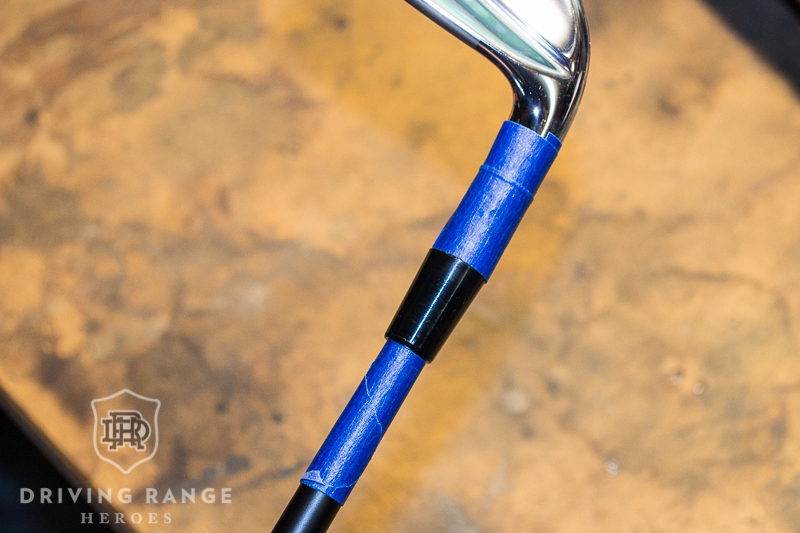
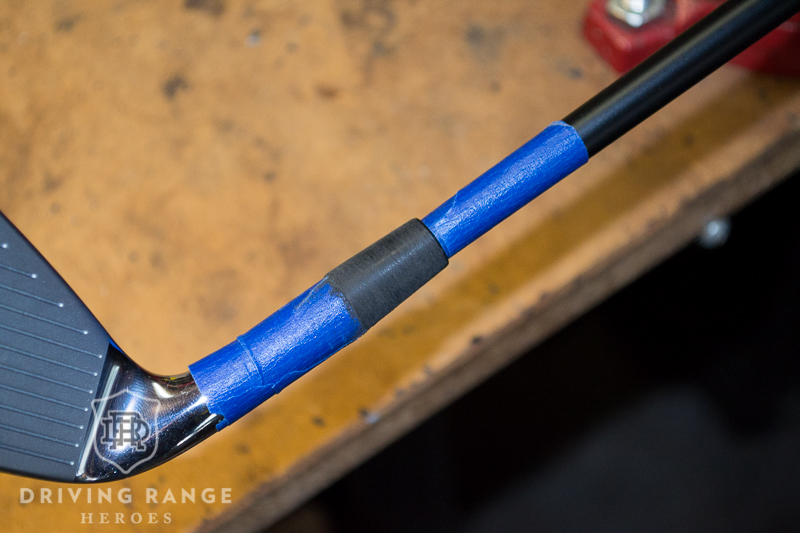
The first thing you do is tape off around the hosel beneath the ferrule and around the shaft above the ferrule:
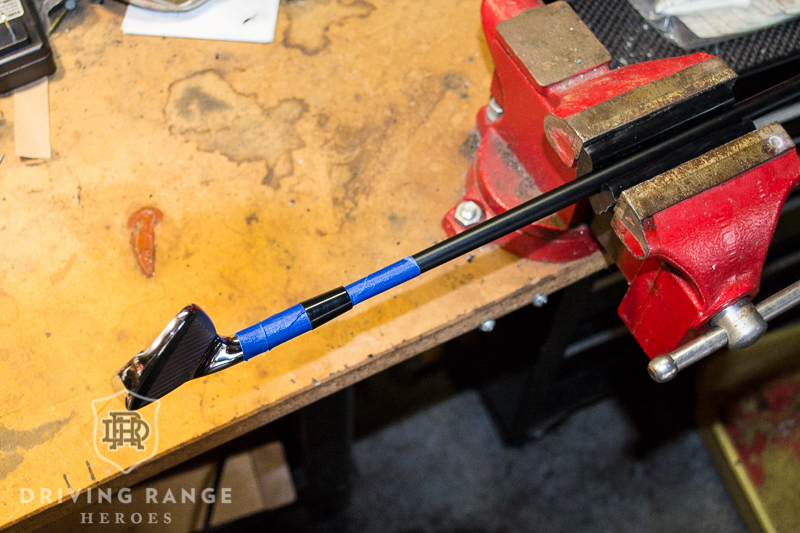
Next, clamp the club with the head fairly close to the clamp/vise for good support:
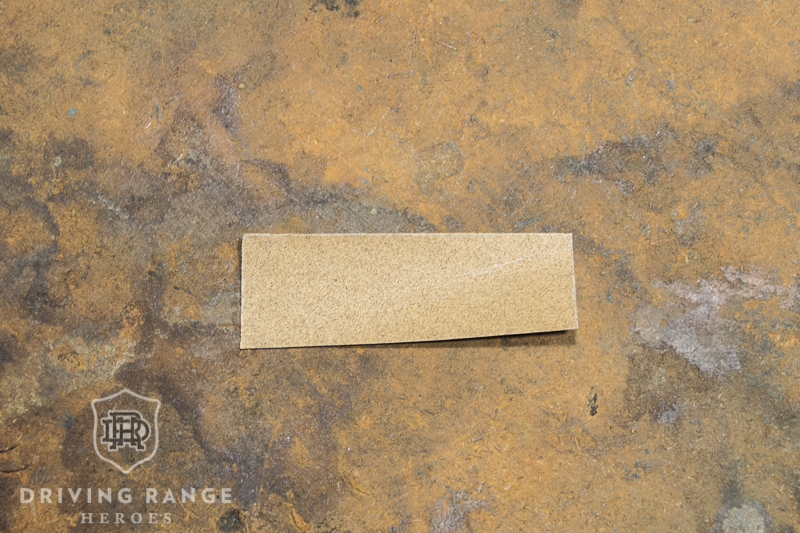
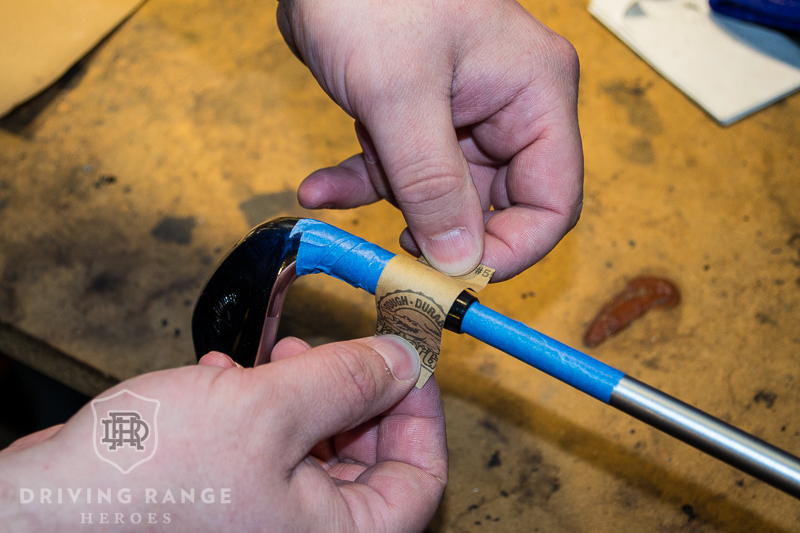
Next you take a strip of your sand paper long enough to use a good shoe polishing technique:
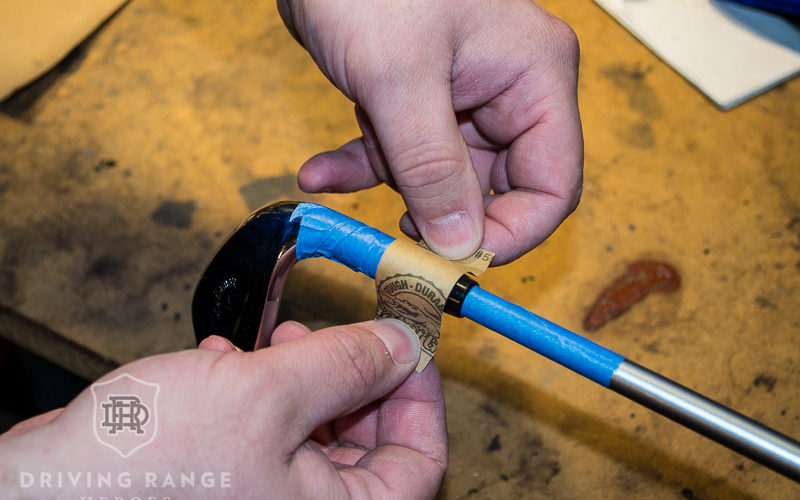
Holding an end in each hand, wrap the strip over the ferrule and *sand back and forth until flush with tape:
*During the sanding, you will likely beat up the tape and even go through it. This will generally be fine unless your club has a unique finish or super high polish. Proceed at your own risk.
Once that spot is sanded down to where you need it, turn the club in the clamp and proceed to follow this same technique around the entire ferrule is flush. You will likely go through lots of strips of sandpaper throughout your entire set.
Finishing the Ferrule
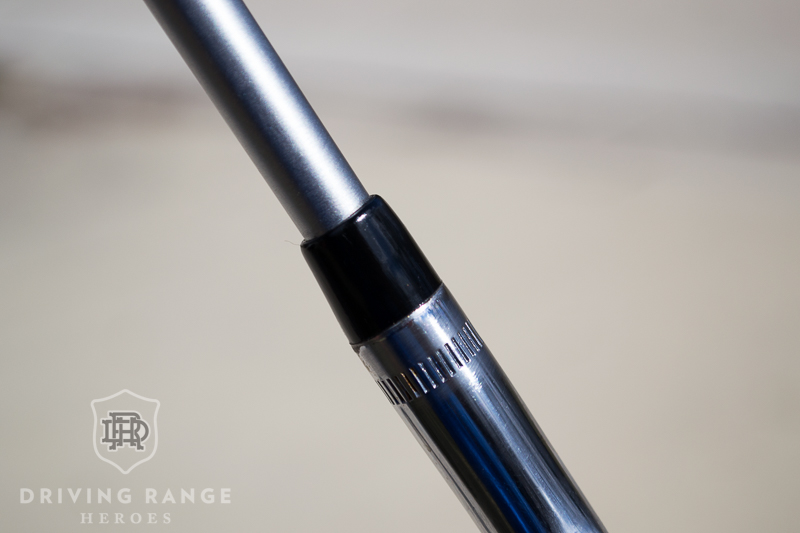
Now that you’ve gotten your ferrule flush with the tape, you can remove the tape. You may notice the ferrule is still a little high. Depending on your irons, you can finish this edge off with minimal sanding using the same technique but without the tape. Again, see my previous warnings. If you want to avoid that risk, you can read my next tips on using acetone to take that excess bit off.
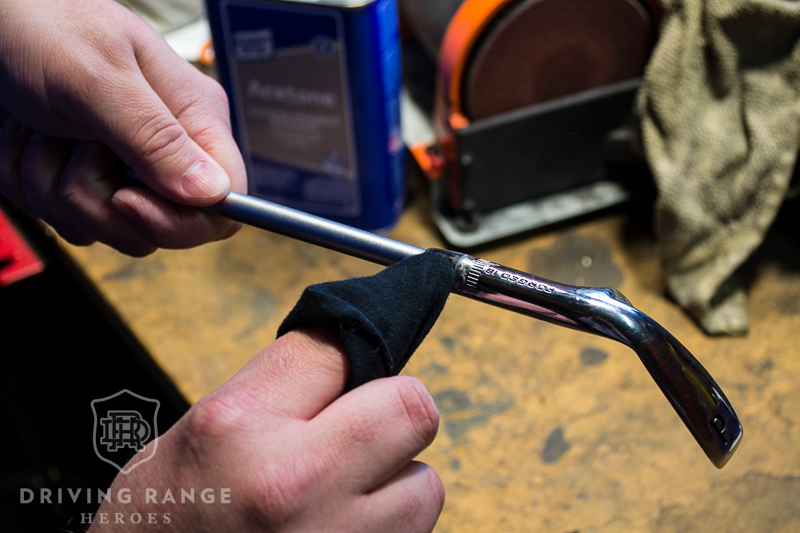
Once you’ve sanded the ferrule down to a satisfactory level, it’s time to clean them up. I like to wear latex gloves for this step to avoid soaking my hand in acetone (despite the picture above). Then I take my soft cloth, pour some acetone on it, and use that to polish the ferrule. This part can take a little feel. If you press too hard in spots, you can do damage to the ferrule. Not hard enough and you could get weird streaks. The technique is to use a medium pressure with a swift continuous brush. It’s easy to get a feel for once you do it and see how it turns out.
I mentioned that you can use acetone to address the areas that are still a little high once you remove the tape. Using the same acetone technique above, just use a little more elbow grease to take down the high spots around the ferrule. Then just use the acetone to remove any streaking and get a smooth, even polish.
Final Thoughts
Since I’m being perfectly honest, I’ll admit that I don’t turn down ferrules every single time I build a club. Sometimes I don’t know if I’m going to stick with the setup, sometimes I’m just lazy, and other times I might not even use a ferrule! At the end of the day though, I want the clubs that are actually in my bag to be fully finished and being able to turn a ferrule is important for that. The way described here is definitely “the hard way” but it’s pretty safe, requires minimal tools, and it works. If you have any other tricks, or even tips on how to be better at traditional methods, let us know!



Thanks for the article. Needed this alternative method and pictures to help turn down my new set.!!
This article has some good tips. Thanks.
I also build clubs with no ferrules. Why waste a ferrule if the club doesn’t work for you. I’ve installed up to 5 shafts in a driver head until I get a combo that works. I will then install a ferrule.
Yeah, for most of my testing, I don’t build with a ferrule unless there’s some reason I think there’s a good chance it’s going to stick around. More of than not, it’s a ferrule-less install for review builds.