Learning How to Paintfill
Doing your own paintfill on (most) golf clubs is just about the easiest DIY golf project you can do. Like a lot of the DIY hacks I’ve shared with you here, there are multiple ways to go about paintfilling your golf clubs, but the general concept is the same. I’ll walk you through the basic supplies, removing old paint, adding new paint, and cleanup. By time we’re done here you’ll have learned how to paintfill your golf clubs all by yourself.
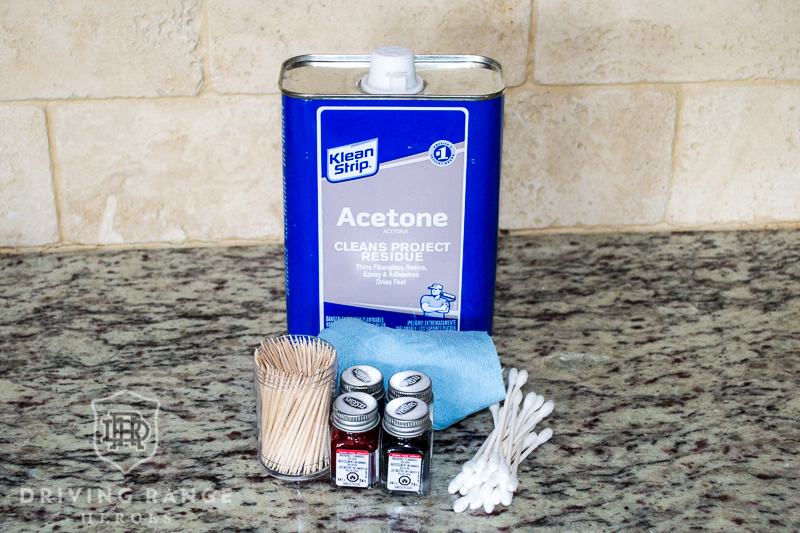
Supplies
People have a lot of specific preferences for their paintfill supplies that matches their preferred technique. Personally, my list is pretty basic and is based on what I’ve come to work best with after trying different techniques.
- Paint: You can use all sorts of paints. Lots of people prefer Tamiya Acrylic. Others prefer to even use nail polish. I’m not sure it matters a ton, but I prefer Testor’s enamel by a mile. It dries harder so theoretically, it’s more durable. Testor’s offers a huge range of color options, and you can even get nuts and mix your own.
- Toothpicks: Toothpicks are the greatest tool I’ve used for painting. I use them help remove stubborn paint and also to apply the paint itself. Others use “needle bottles,” but frankly, I sucked with them so I stopped using them. That’s what most of the pros use though, not toothpicks.
- Acetone: I like to use acetone for paint removal, cleaning fresh paint surfaces, and excess cleanup at the end. Others use different chemicals like paint stripper and nail polish remover, but some classic acetone from your local hardware store is my favorite.
- Metal or Glass Bowl: This is to pour your acetone into. Pretty straightforward so didn’t feel the need to put it in the picture. Just don’t use plastic.
- Q-tips: You’re going to go through a ton of these in a project, but they’re cheap and good for the job. If it’s possible, you want a firmer and tighter cotton swab on the q-tip. It gives you more control.
- Blue Paper “Shop” Towels: I would say these are more of a “nice to have,” but they are great. Some people will use these exclusively for paint cleanup, but I use them for certain areas like a whole row of letters on a smooth-ish surface just needing a few swipes. In my opinion, good blue shop towels are great to have around in general, so worth having them alongside q-tips.
- Latex Gloves: Optional really. If you don’t want to get your hands all acetoney (like you’ll see in this post), then you can wear these. That said, prolonged acetone exposure will melt the gloves so beware.
Removing Old Paintfill
Removing old paintfill is arguably the hardest part of this project. In a way, it’s kind of reassuring how stingy removing old paint can be because that means they did a really good job originally! What I like to do is leave the putter head submerged in acetone and just let it sit for awhile. What doesn’t separate from the putter head on its own, I’ll use q-tips, toothpicks, or maybe a metal pick to scrape out. This can take a lot of time and elbow grease so be patient and diligent.
TAKE CAUTION WITH YOUR PUTTER! If you submerge a putter with a urethane-based insert (or any other material that acetone will ruin), you’ll do a ton of damage. In that case, use q-tips dipped in acetone and stay focused on specific areas. Better safe than sorry. Also, if you’re removing paint from a putter like a Scotty Cameron, be aware that the weights have rubber O Rings and there are adhesive pads behind face plates and inserts. These will be damaged by acetone.
Painting
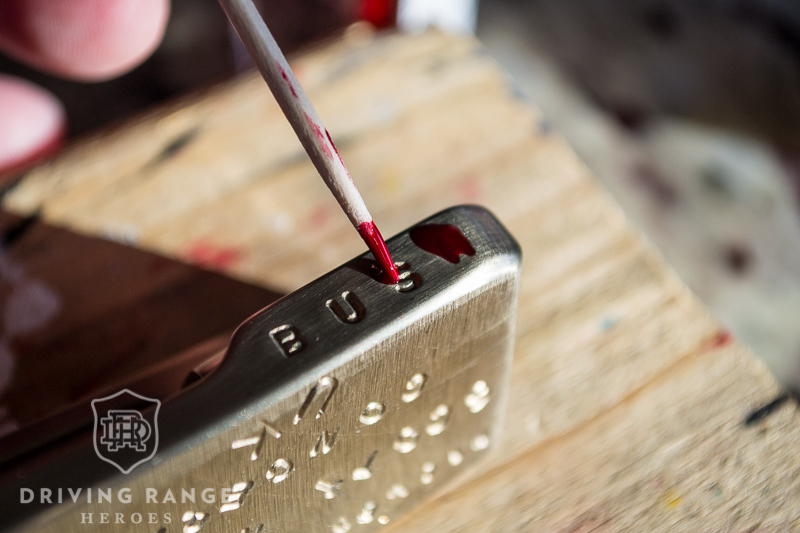
The painting part is easy. Unless I’m doing a “cherry bomb” in a putter, I like to get a drop of paint about this big on the end of a toothpick:
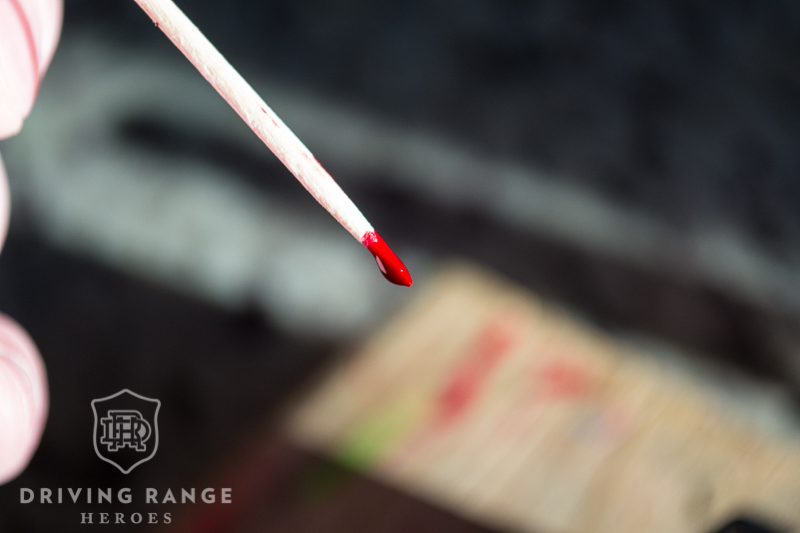 From there, I put the point of the toothpick into the stamp or engraving and let the paint fill up space. I will spread/move the paint through the space accordingly. Some fills may require multiple drops – maybe even of different sizes! My suggestion for a beginner is to use enough paint to thoroughly fill the space, but not so much you have a TON of cleanup and have to use so much acetone that you’re bound to ruin the paint you want to stay behind.
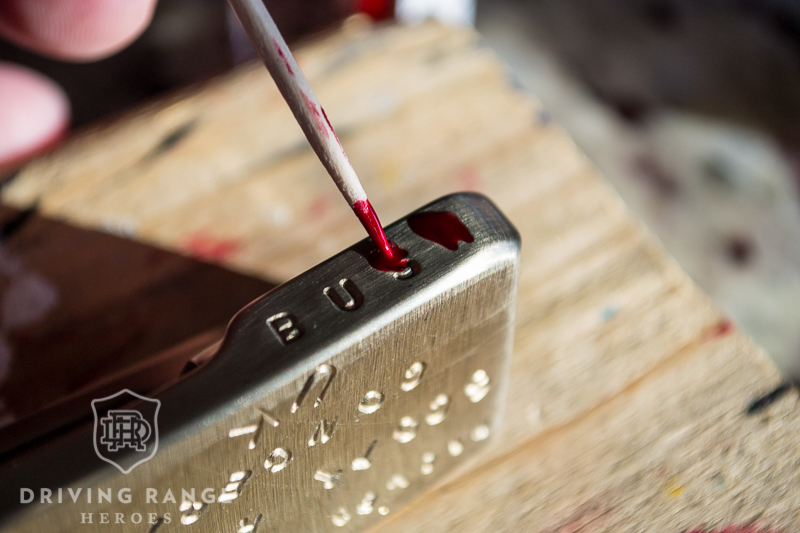
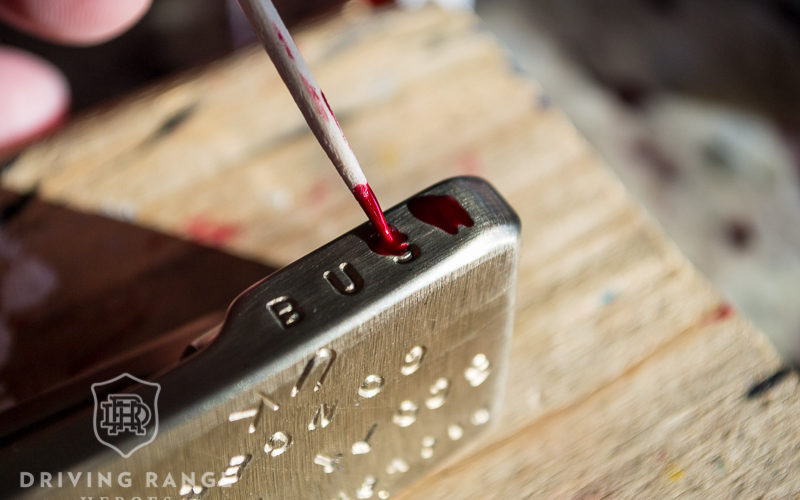
It’s ok to have excess paint outside of the area you’re painting. We’ll clean that up after the paint has set for awhile. For example…
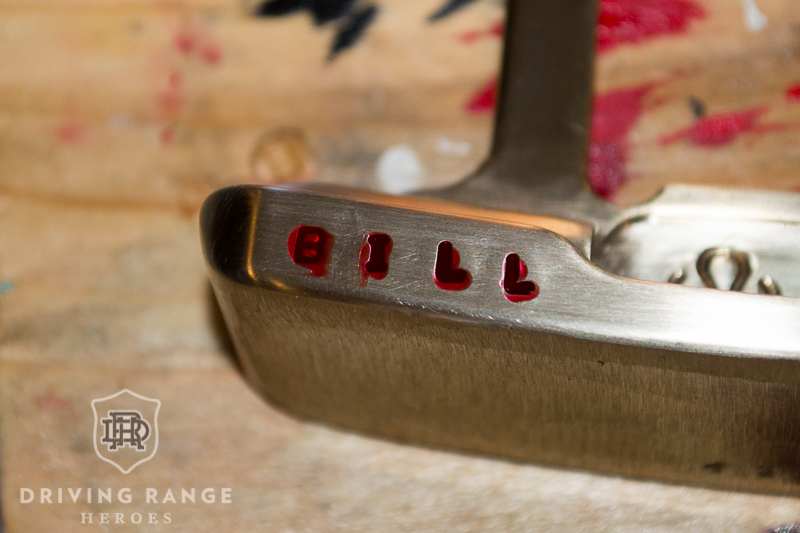
It might be hard to tell in the picture, but that excess layer is fairly thin so cleanup won’t be terrible. Now, just let the paint dry a little bit.
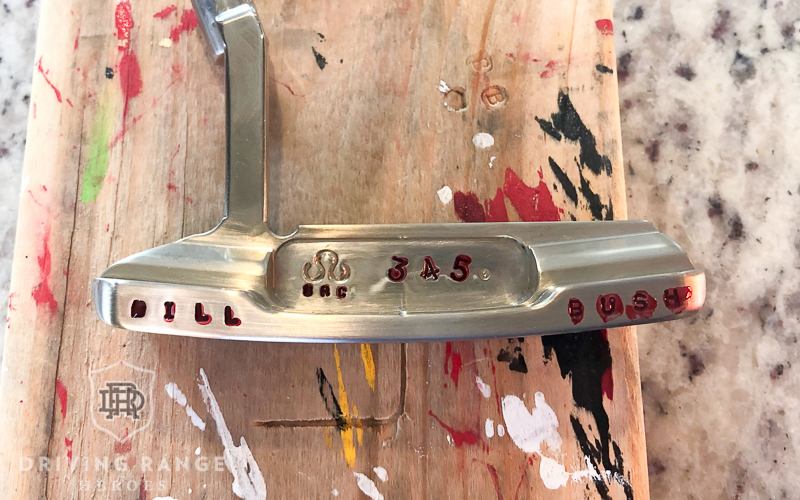
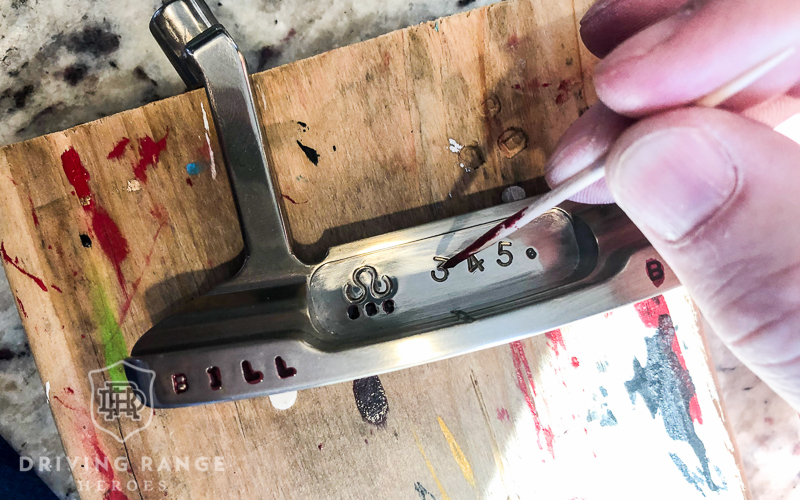
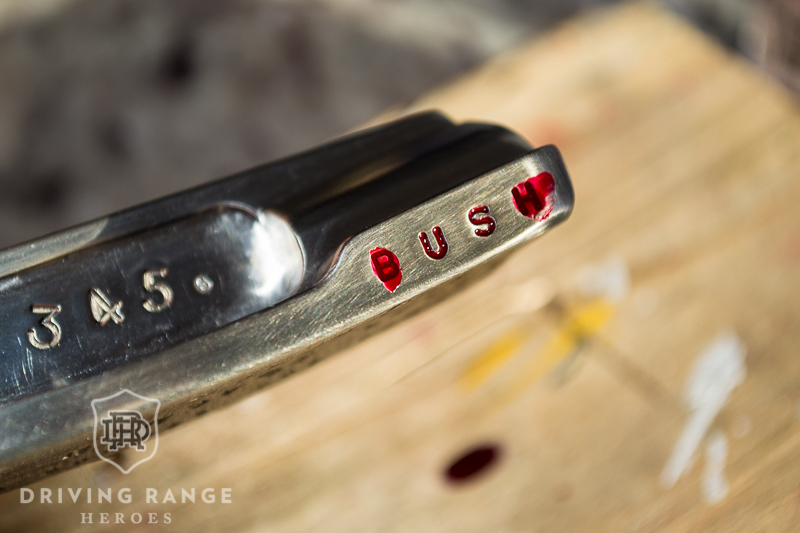
One more important tip – paint in phases. This becomes common sense over time when you’ve shot yourself in the foot enough times by doing it wrong. I suggest working from the middle out so you aren’t cleaning paint into already finished areas. For instance, I started with the darker colors in the middle, and worked toward the edges in the picture above. In this case it was a bit easier because the colors were all dark and I only used one color from the middle down.
Cleanup
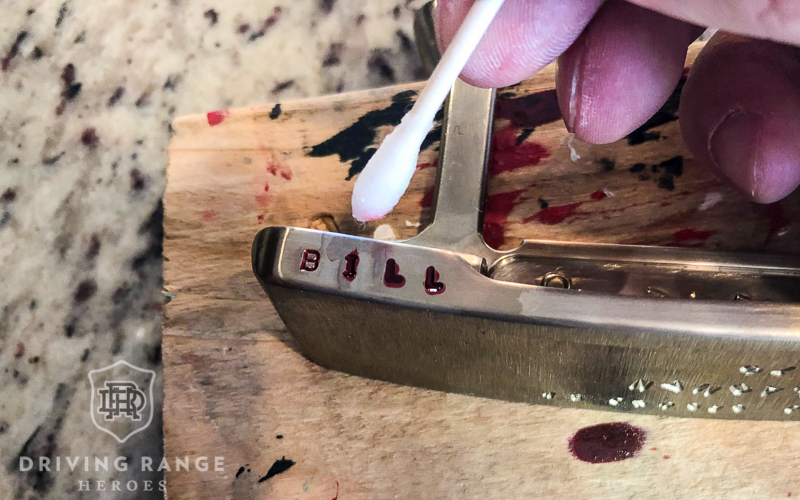
First, make sure you let the paint dry for a bit. Depending on the area painted, my wait times are longer. For lettering, I might let it sit for 30 to 60 minutes, but no more than two hours. This makes the paint strong enough to hold up in the paintfill area, but the excess paint will still be “wet enough” to be cleaned up easily. If you let it sit too long, all of the paint hardens and the excess will become extremely stubborn. For an area like like a big cherry bomb in the cavity of a Scotty, I might let it set overnight. That’s a big area you want to have a clean look and will show the slightest mistake. Let that paint get nice and settled first.
Cleanup takes a little bit of touch. Too much acetone, too much pressure, too aggressive, then you just ruined your paint and have to start over (which means cleaning all the paint out again). I dip a q-tip in acetone, “wring it out” so I don’t have a bunch of acetone going all over the place, and then do light, confident, and quick wipes in one direction over and around the area. You want to focus on the excess areas as much as possible, but don’t be afraid to go totally over the letters. Try to control the direction you wipe to make the rest of your cleanup easier. You’ll see what I mean as you start doing it. Worst case, you clean out all of your paint and start over. I promise you, you will find yourself having to do this frequently.
PS. My Achilles heel in paint cleanup is a good sight line. I feel like I end up redoing them multiple times with every putter I paint.
Final Thoughts
Being able to do your own paintfill opens up a world of possibilities. It gives you the skills to freshen up your ratty clubs, or customize them to your liking. The paintfill process is fairly easy and just takes a bit of patience and practice. Once you get the hang of it, you’ll be painting everything in sight!
If you have any questions or additional tips, feel free to leave them in the comments!
Special shout out to the Scott Readman Concepts IKB2 Project Putter for being the model for this post.