SkyTrak+ Launch Monitor
In-home golf simulators seem to be all of the rage these days, but a quality, accurate setup that delivers a complete simulator experience can get pricey. You’re either sacrificing accuracy and data points, or forking over the cash for the most premium monitors money can buy. That’s all about to change. With the SkyTrak+ from SkyTrak Golf, you can now have even more data points than the original SkyTrak launch monitor, with more accurate numbers, all in an affordable package. And the best part is SkyTrak offers a ton of package options to fit any golfer’s simulator setup needs.
What’s in the Box?
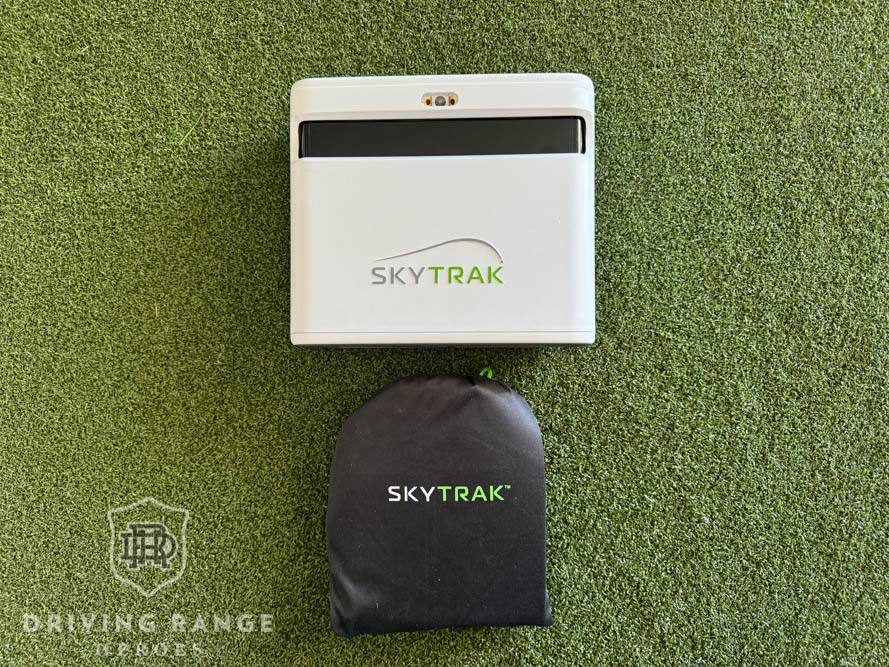
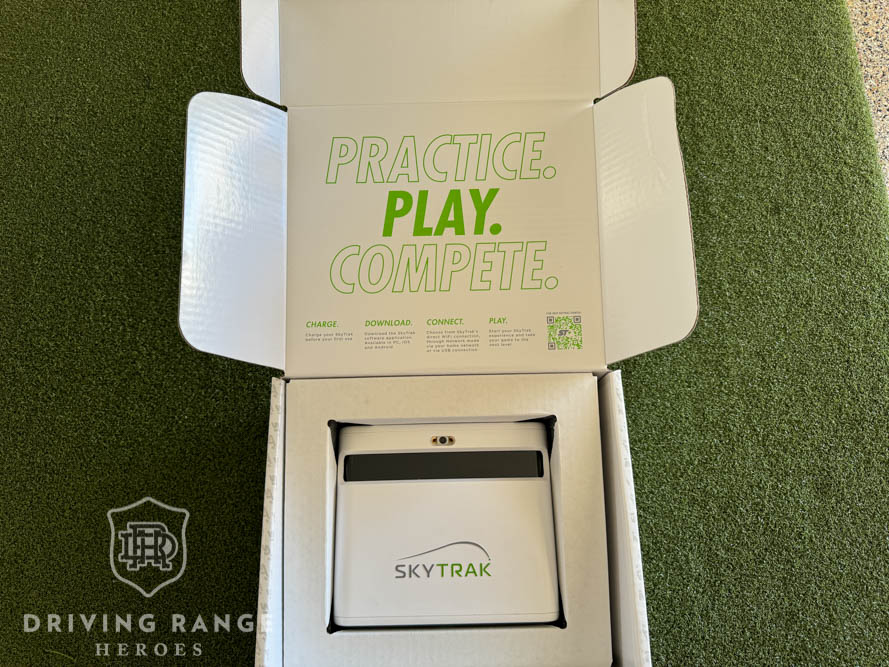
SkyTrak offers a wide range of SkyTrak+ launch monitor packages that include everything you need for an at-home golf simulator setup. First, let’s focus on the SkyTrak+ Launch Monitor itself. When you open the sleek packaging of your new SkyTrak+, you’ll find a few very important things.
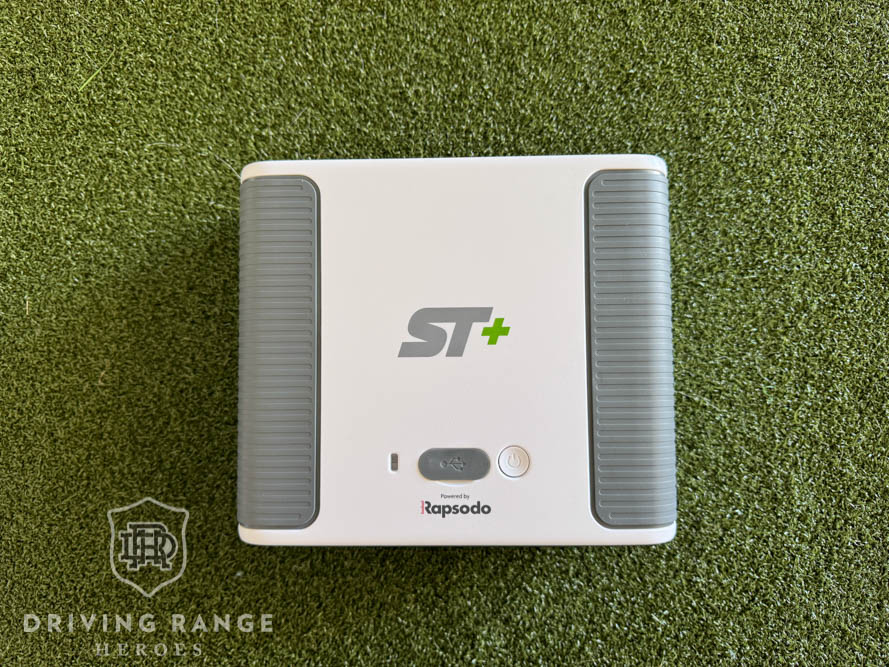
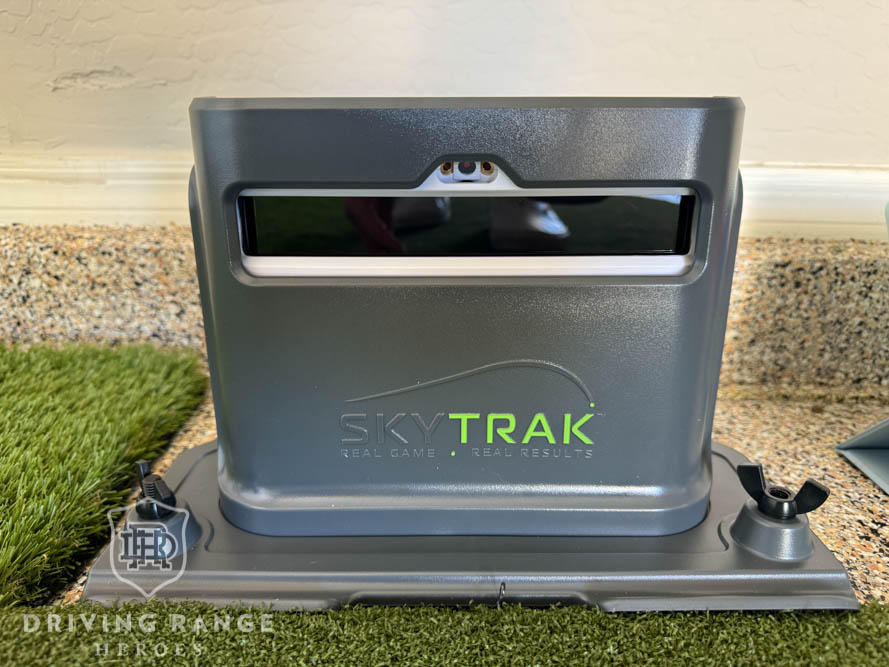
First, of course, you’ll have the launch monitor itself. The unit itself is about the size of a hardcover book, made up of a photometric camera system and dual Doppler radars for tracking club metrics. This is all packaged in a high quality plastic casing, making it lightweight for its size. Additionally, you’ll get the quick start guide and manual, charging cable, and hardwiring cable to connect the unit directly to a PC. There’s also a storage/carrying bag included. Pretty straightforward, right?
In order to complete you’re at-home setup, you’ll also want a hitting mat and a net at the very least. Don’t worry, SkyTrak offers complete packages on their website, so you can get everything you need all at once. Additionally, you’ll need either a PC or tablet to run the simulator software. But, unlike other options, you can run everything off of a solid iPad, without the need to buy an expensive gaming PC.

Data Points
When looking for a launch monitor, getting the right combination of data points can get complicated and frustrating very quickly. It seems like every monitor has different data points, or there are massive subscription upgrades required to unlock them. With the SkyTrak+, you get everything you need in terms of club and ball data.
The full list of data points is as follows, with the bolded points being only available on the SkyTrak+ (Club Data):
- Carry Distance
- Total Distance
- Clubhead Speed
- Ball Speed
- Smash Factor
- Club Path
- Club Face Angle
- Face to Target
- Back Spin Rate
- Side Spin Rate
- Spin Axis
- Spin Loft
- Horizontal Launch Angle
- Vertical Launch Angle
- Lateral Landing
- Roll Distance
- Apex Height
- Flight Time
- Shot Shape
- Descent Angle
- Shot Score
Setting Up Your Device
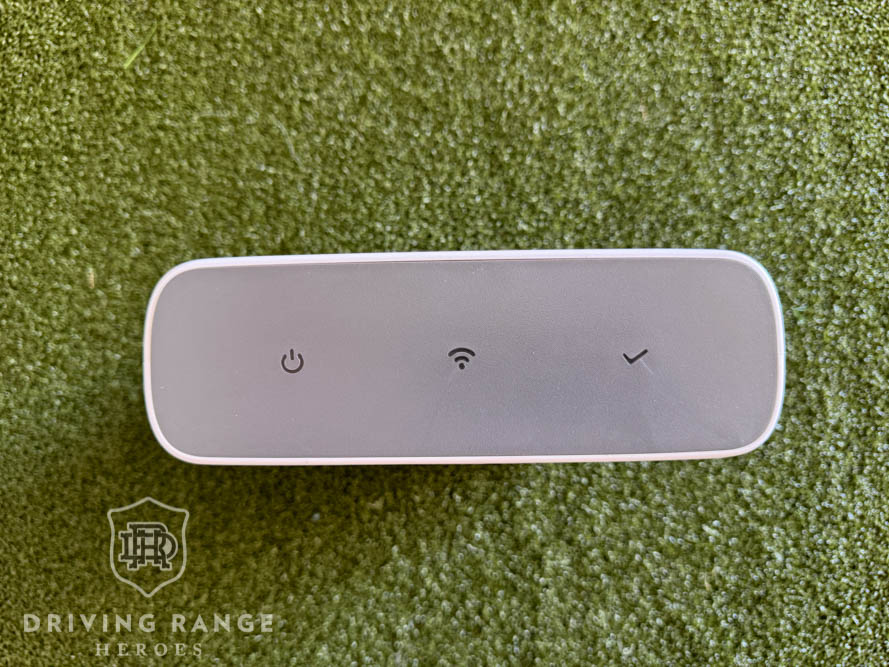
Now that you know what you’re getting, you need to get the SkyTrak+ launch monitor up and running. Have no fear, Skytrak provides a quick start guide to walk you through the process. Trust me, it’s really simple. First, of course, you need to charge the unit. I found that a full charge takes about 3 hours. The unit also has an optional plastic case to protect it (available on the Skytrak website). I highly recommend this to protect your investment. Additionally, it includes a track to lay down an alignment stick, to ensure the unit is set up parallel to your target line for the most accurate readings.
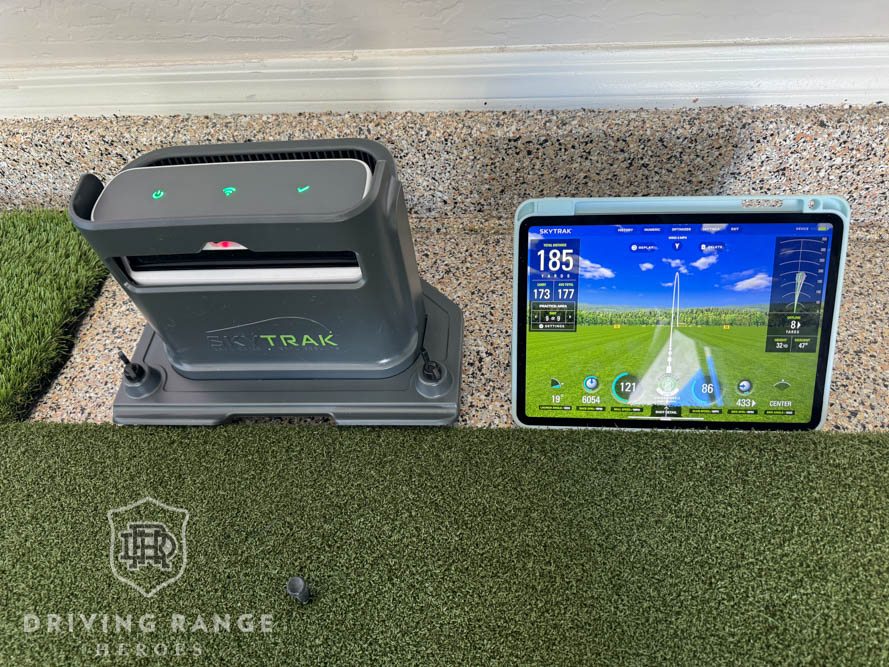
Next, you’ll need to download the SkyTrak app from either an app store (tablet) or download it from the SkyTrak website (PC users). Once you have the app, you’ll need to create an account and register your device. Your device is linked to your account, which helps you track statistics, manage your software package, and more! From there, you can determine how you want to view the actual software itself. Personally, I connect to an iPad, then airplay to a TV setup for a better viewing experience. You can also connect to a PC and monitor, or, extend from a PC or iPad to a projector to view your shots on a projector screen. Whichever fits your setup best!
Getting Started
After your account is created, you’ll then be given an option to connect to your device. For your first connection, you’ll connect directly to the WiFi from the SkyTrak+ device itself, which is the most simple setup. You will also have the option to use a network connection (via your home WiFi), or a direct cable connection with the cable provided (PC only), however, it’s important to note that you must do the direct connect first before you can select these options.
Here’s the only thing frustrating during the setup process: you have to do the direct connect, then switch to network mode so that your tablet or PC can regain internet connection. You’ll need this because you have to now register your device to your account subscription package (we will cover these in a later review). In total, the setup took me about 10 minutes so it’s pretty easy and straightforward. Once registered, you’ll be up and running.
In terms of connecting, it’s pretty straight forward. When you open the SkyTrak app, it automatically logs you in and connects to the unit with the “last used connection” option. So, if you have it set up to connect via WiFi, you turn on the unit and PC/Tablet, and everything will connect automatically. There were a few times where my SkyTrak+ was having difficulties connecting to WiFi, but a restart easily fixes this. Additionally, if you’re using software like E6 for your simulator, you’ll want to make sure you close the SkyTrak app (or visa versa) as both apps will be trying to connect to the unit, causing dropped connections. The great news is, if you have any issues, SkyTrak has a chat option for support which is phenomenal and helps sort out any issues very quickly.
The SkyTrak+ Launch Monitor’s Technology
When doing simulator research, it can be overwhelming with the different types of technology used to capture data points. In all of my research, I have basically narrowed it down to two different types: Doppler and camera. Doppler units, like Trackman, are positioned behind the ball, and are reading ball flight to generate data. They’re placed behind the golfer and typically require more space behind and in front of the golfer. Camera based units are placed parallel to the golfer, and use high speed cameras to capture club data points and generate ball data from that.
The SkyTrak+ uses both cameras and Doppler, but is setup parallel to the golfer, which is great if you’re limited on space. The dual Doppler radar system in the SkyTrak+ helps capture club data, and gives you numbers like club head speed, smash factor, and face angle. The photometric high speed camera captures the ball leaving the face, and helps give accurate spin and yardage data. It also allows you to take the SkyTrak+ outside to the range. Both of these technologies combined help deliver data within 1.5º of club accuracy and two yards of ball accuracy. All of this for under $3000? Count me in.
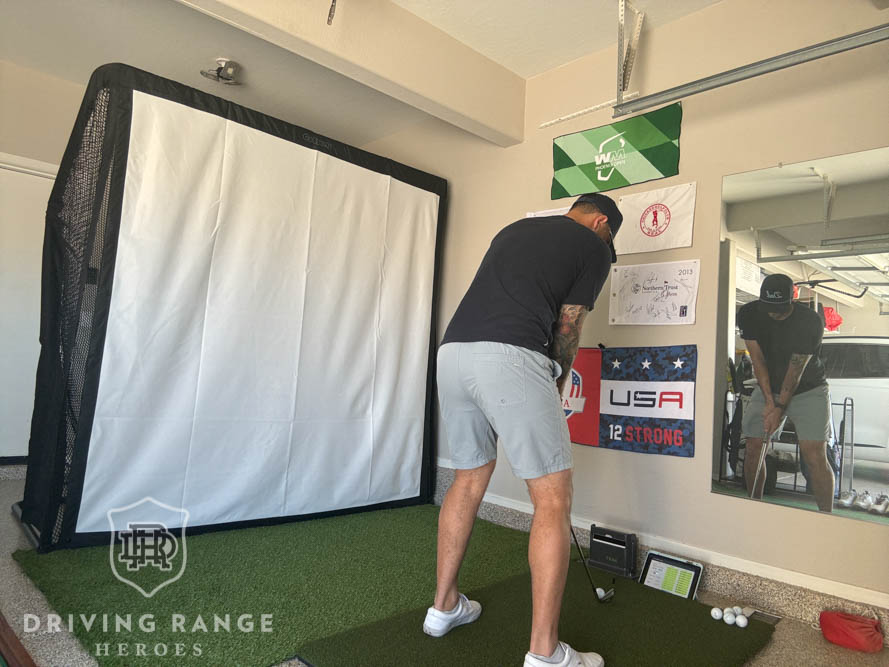
Real Life Use
Now that we’ve talked about the specifics, let’s get to the most important part of this review: how does the SkyTrak+ launch monitor actually perform? Well, I’ll start with this – at the $3k price point, the SkyTrak+ Launch Monitor punches way above its weight class. I’m yet to find a launch monitor that has all of the club and ball data points at this price point. You’re usually sacrificing club data, or accuracy at some point.
With that, let’s talk accuracy. I’ve hit on the various “Tour-standard” launch monitor offerings numerous times, so I have a pretty good feel of what my numbers should look like. I’ve also tested some of the cheaper launch monitor options that regularly prove to be unreliable and inaccurate. I have to say, with the SkyTrak+, the numbers were always what I expect to see. If I can tell the ball is going right even though I’m hitting into a net, it shows it going right. There are no real misreads I’m getting from the monitor.
Most surprising to me is the accuracy on short wedge shots. Lots of monitors will not be accurate or simply won’t pick up short little pitches (especially monitors that don’t costs tens of thousands of dollars), but the SkyTrak+ does a good job of giving me the data points I need to improve my short game.
Another gripe with most simulators is putting, and I think it’s something all launch monitors can improve on. However, putting is only used if you’re doing simulator rounds with one of the simulator software packages. The SkyTrak+ seems to do well at picking up accurate distances from putting strokes, but this is where I typically just turn on auto putting based on distance to the hole. Largely because I’m not really using a simulator to work on my putting anyways. I have a putting mat for that.
SkyTrak+ Launch Monitor Packages
With your SkyTrak+, you can use basic functionality right out of the box with no additional fees. However, you can also choose one of their software packages to further improve your game. The options are the Basic Range, Essentials, and Course Play Packages. These packages are new from SkyTrak, in coordination with Golftec, and are designed to transform how you practice and play, anywhere, anytime.

SkyTrak Basic Range Package
The Basic Range package is free forever, and gives you access to the standard SkyTrak range. You have access to all of your club and ball data, and functions basically as a driving range with shot data. This is fine for a lot of people, but, if you really want to hone in your game, there’s more game-improvement options with the Essentials package.

The Essentials Package
The Essentials package gives you a ton of additional features with SkyTrak+ to help you dial in your game. In addition to the Basic Range, you get access to 5 additional driving range setups which include different views, ranges with hazards, and more. You also get bag mapping (to dial in distances with each club), the skills assessment, wedge matrix, shot optimizer, shot history, and the skills assessment. If you want to do more than just see metrics for individual shots, but also have the ability to dial in distances and see trends in your metrics to really improve your game, this is the plan for you.
For me, the shot optimizer is by far the best feature. On the driving range, I simply select my club, and SkyTrak gives me my numbers, then color codes things like launch angle and spin in green, yellow, or red to compare my outputs to optimal numbers for that club. It’s pretty awesome. The Wedge Matrix is also great for dialing in my yardages. I really enjoy the Skills Assessment. This gives me some variety to the clubs I’m hitting so I’m not just hitting the same clubs repeatedly. I can do this for hours without losing connectivity, or worrying about the 10+ hour battery life giving up on me. The Essentials Package will run you $130 per year, and is well worth it.
Course Play Package
If you want to play some simulator golf, SkyTrak also offers the Course Play package. This is for PC users only, as you really need a computer for the best course simulator experience. With that said, for another $220 per year, you get access to 30 courses, including Pebble Beach and Pinehurst No. 2!
Final Thoughts – SkyTrak+ Launch Monitor
As I said before, the SkyTrak+ launch monitor punches way above its price point. I’d be willing to say it’s the best launch monitor for your money. The additional subscription options are affordable and reasonable compared to others, and they’re worth it. Plus, you get all of the data points you could possibly need. Honestly, I could write up a review for hours and pages, so we will have more content to come. But, if you’re looking for a great in-home simulator setup without breaking the bank, look no further than the SkyTrak+. Have questions? Post them in the comments!