
It’s Time to Finally Do Something…
As I’m sure many of you can imagine, I have a ton of golf clubs and bags. And believe it or not, that problem predated my whole “golf internet” life by years. Of course, running a few websites centered around golf gear didn’t help the cause. The final nail in the coffin for needing a club rack was my collection of vintage/thrift clubs. My garage became so out of control from my general collection of golf wares, I had to do something other than just purge. So I started doing some Googling, didn’t find anything all that helpful. Ultimately, I was on my own to figure out how to build a golf club rack.
If I’m being fair, I can’t say these various places weren’t at all helpful. I saw a lot of different ideas for what worked in different spaces. First and foremost, I knew I had to build my golf club rack in the garage. It needed to hold a lot of weight, had to fit different lengths of clubs, had to be intelligent with the space, and had to be durable enough to withstand the the volatile seasons of northern Illinois. I came up with some general ideas in my head and got to cleaning out a side of my garage for building and installing.
How to Build a Golf Club Rack Pre-Work
I would say a key thing to keep in mind here is that there’s more than one way to skin a cat. Maybe you envision your club rack to be an artistic display of your collection? Or maybe you have more than enough space to build whatever you want? In my case, I just needed practical storage and I wasn’t worried about it winning any beauty contests. I basically picked the space in my garage that I would dedicate to this rack, and then did a lot cleaning and eyeballing.
The key thing I feel like you have to keep in mind during your design phase is the physics of the golf club itself. Being that a golf club is much heavier at one end, you need to account for the club’s balance so they stay in the rack. In my case, I didn’t have a bunch of space so I didn’t want to rack sticking way out to either allow clubs to hang further out the back, or for the front to be “closer” to heads. This meant I’d have to angle to clubs so they’d stay in place. This can be tricky when you’re accounting for fitting both putters and drivers. After a whole bunch of eyeballing with scraps of wood, drawing on the walls and floor with chalk, I got a good idea of my required distance from the wall.
Another key realization I had was that this golf club rack was going to have to hold a ton of weight. For instance, fill a normal golf bag with two sets of irons and feel how heavy that is. Now multiply that times a billion, or whatever other factor of multiplication your collection is. I didn’t have enough room to make a big wide box and I wasn’t going to drill into the concrete for anchors. So instead, I chose to anchor the rack to the studs in the wall. This made my angles of each side of the rack that much more important. My next step was to build a frame and then see how many rows I could fit in.
Using the Right Materials
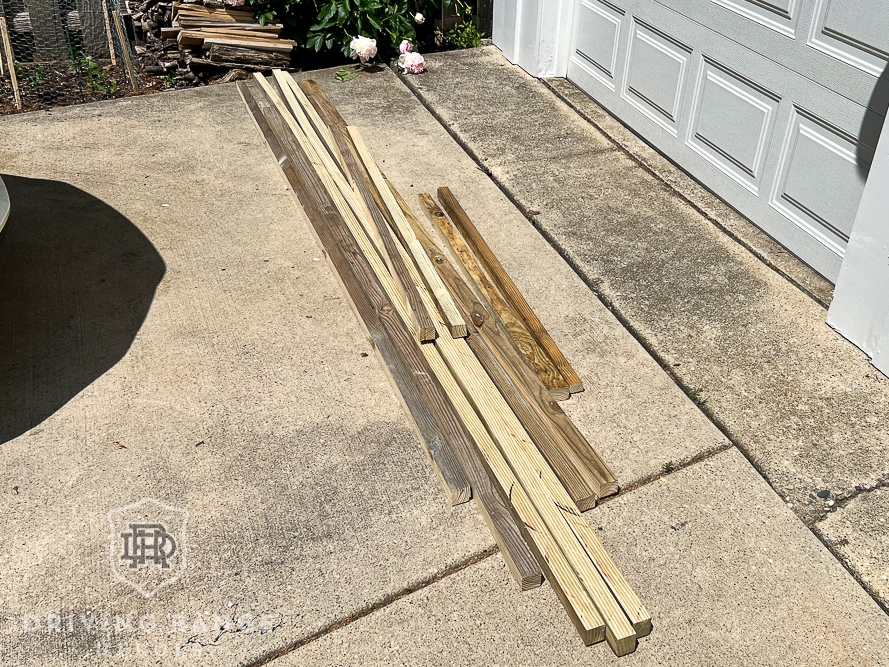
Material selection is a pretty crucial part of this process. If the golf club rack is going to be a center piece for display, you obviously want to go with a nicer wood, something to stain/finish it, and your hardware (screws/nuts and bolts) may matter. In my case, I knew I was building this in my garage where it gets super hot and humid, but also super cold and dry. That’s a bad combination for wood. The answer would be pressure treated wood for durability. Pressure treated wood isn’t exactly cheap these days, but I had a source. My brother-in-law just so happened to have a whole bunch of lumber from abandoned tree house project that he generously offered up.
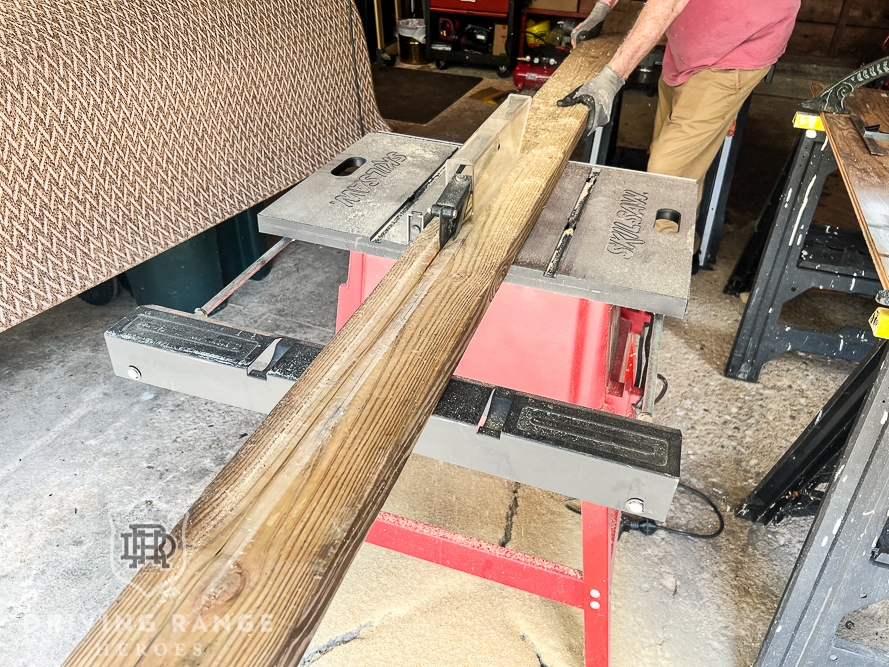
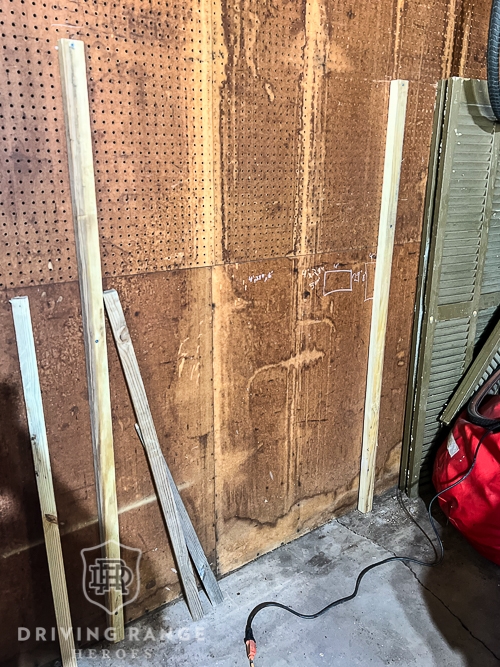
My dad and I headed over to his backyard and found a bunch of 12 foot 2x12s. We grabbed three of them and a few other random scraps of wood that looked like they might be useful. If those seem like pretty significant boards to you, they are. We decided to rip them on a table saw into usable sizes that fit our needs. Did we screw up a few of these during that process? Of course. Thankfully we had access to a few extras as needed.
Picking the right screws was tougher than expected for me, but it was important. I ended up deciding screws for an outdoor deck were most appropriate. Two things I didn’t realize when I picked them out were that they were torx screws AND that the box came with a bit for them. Both things that would have been nice to know up front. Lesson learned. Additionally, I would have bought a more expensive screw. You get what you pay for, right? Just make sure you get the right length to establish a sturdy connection that will withstand the elements.
Actually Building the Golf Club Rack
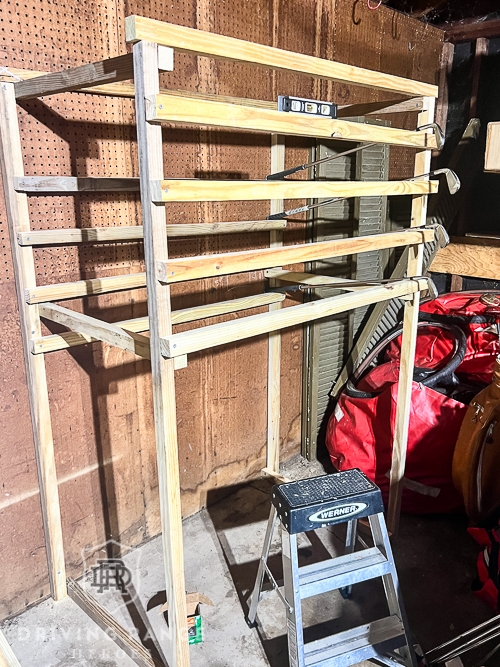
Like I said, my first step was really to build out a frame and verify my measurements would work. I’m not going to lie…this was much easier said than done. Especially when I was impatient and tried to do everything myself. I quickly realized that getting everything to initially balance and stay in place by myself was going to be tough.
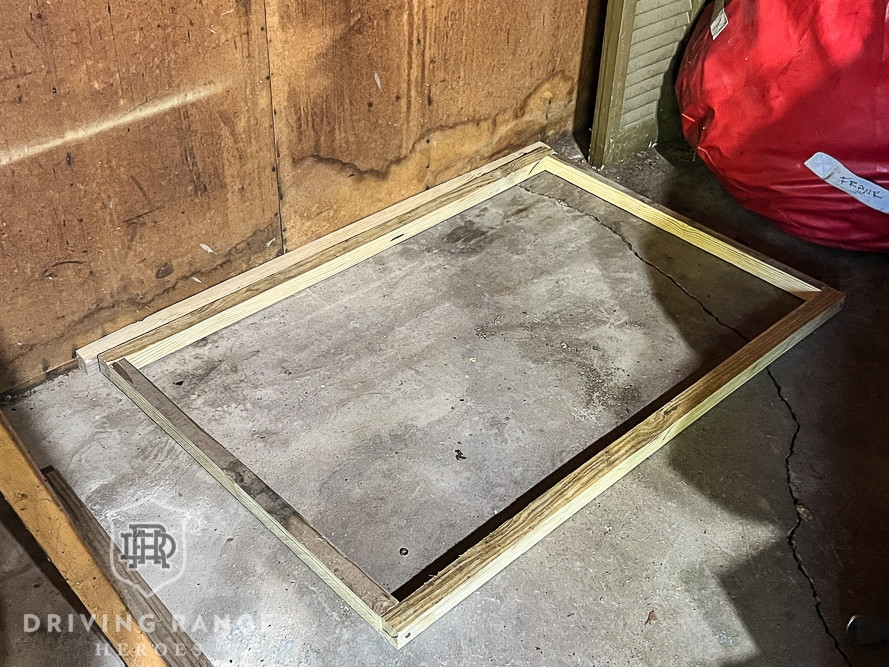
It was also my first realization that my initial frame idea was terrible even though I’d only built a small rectangle. (Pictured above.) So I took the first bit of construction apart, tossed it in my scrap pile, and went to bed for the night.
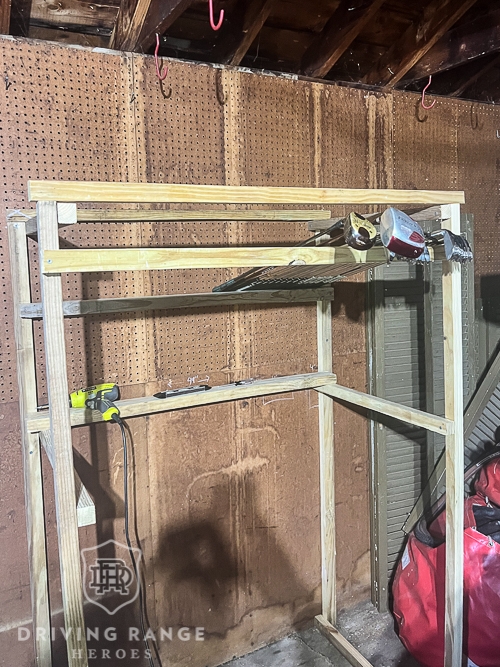
The next day, I greatly simplified my approach and connected two of my “tall” pieces of wood to the studs in the wall. I then ran another piece on top of those which I also anchored to the studs. From here, I connected two to the bottom to help add a little surface area on the floor. Then I connected the front long pieces at the top and bottom to essentially complete the frame. For a little more support, I added one more piece on each side around the middle of the frame on the inside of the structure. Putting these on the inside was important to the design for a HUGE reason. My “clearance tolerance” is just tight enough that the garage refrigerator could still open all the way.
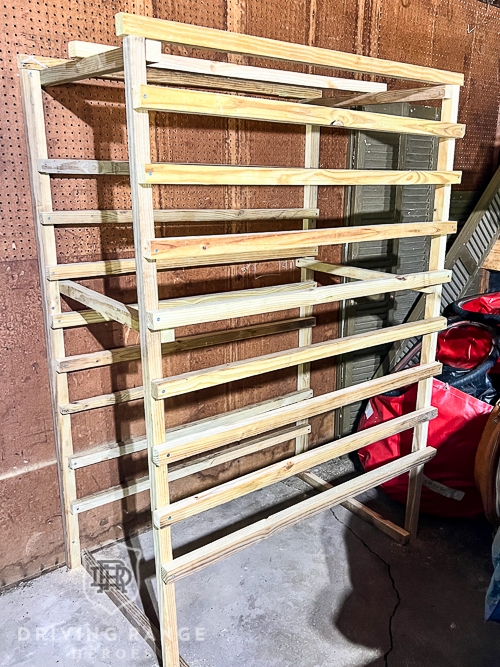
All that was left to do was to put the cross pieces/”racking” on the frame. I started at the top so I could work down and maximize my usable space. The first step was to put the front piece on and then I grabbed a sand wedge and driver to figure out where to place the back piece for the right balance angle. Once you get this angle in a good spot, you can just continue by measuring equal distances between rows. I think I did something like 8 inches apart. For each row, I just measured, screwed one side in, used a level while screwing in the other side. Job done.
Final Thoughts – How to Build a Golf Club Rack
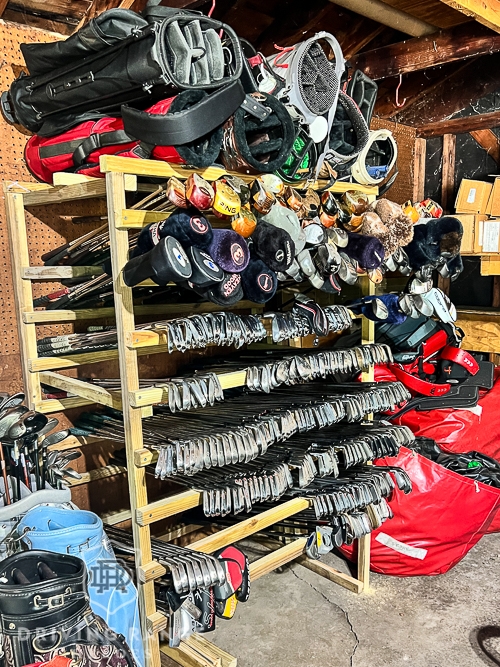
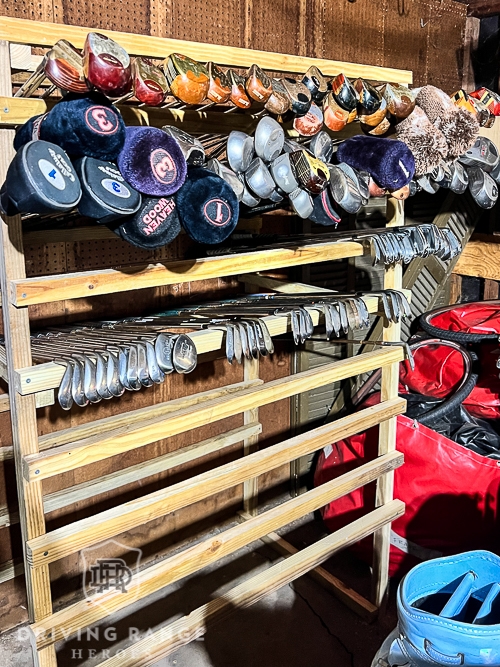
As I look back at this post, I feel like I wrote a super annoying novel, yet there’s so much more to say! (Obviously, any questions, just leave a comment!) Real quick, I want to point out that club storage wasn’t my only problem. I have a huge golf bag collecting problem as well. The goal was to use the top of the rack for bag storage. Once I was done, I added a cross piece across the top in the middle for a little extra support. Then I threw a whole bunch of extra golf bags up there. At a later date, I’m going to add plywood to make the top flat as well as some posts to prevent bags from falling off the side.
I think the big takeaway I’d like to leave you with is that there are a million ways to get this job done. If you have a much better idea on how to build a golf club rack, that’s great! Are there a bunch of things I’d do differently next time? Of course. I could have designed it in a way that I could also utilize space from the sides for club storage. I would have probably done my support bracing a bit different. On any given day, I can come up with a bunch of different things, but all in, I’m super happy with it. I think it looks cool with all of the clubs in it and it certainly gets the job done. Just keep in mind that golf clubs weigh a ton. That’s probably the best piece of advice I can give you.
One future me problem I still have to solve – I accidentally stole the space where I hang our bikes from. Whoops.


Hi, I just found your tips for building a golf club storage shelf. Thanks for sharing, I plan to build myself the same unit.
Good luck! Let us know how it goes.